After you have chosen a good tree, proper setting, staking and watering will ensure its happy growth.
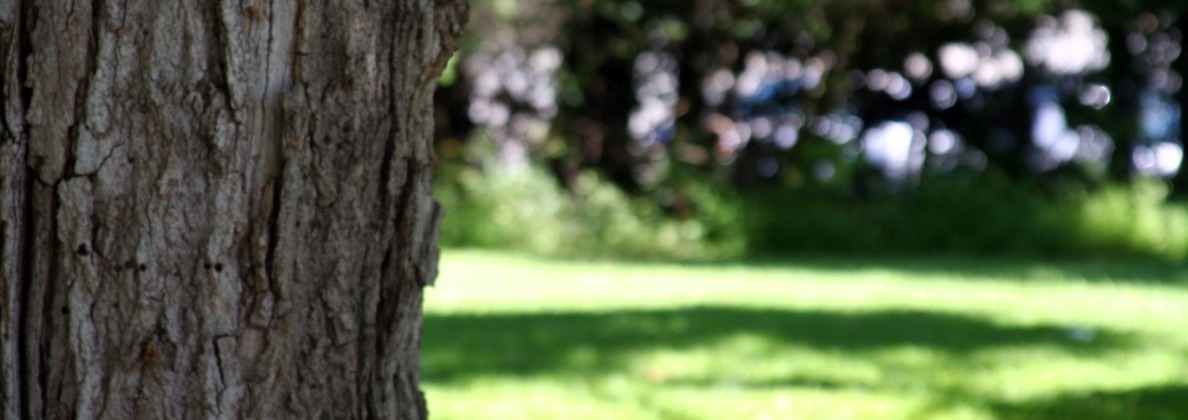
After the deliberation of species selection, site selection, and purchase, we are now ready for the most critical aspect: placing the tree back into the earth where it longs to be. Imagine a quick trip to any natural growing forest area, a wild place, not a planted human-made space. Do you notice how every tree trunk is larger and swollen as it approaches the surface of the earth? The closer you get, the wider the trunk becomes until it starts to break up into the major support roots, the buttress. It is at this point that the trunk has turned into the major roots. If the tree’s bark is one that does not form thick, corky ridges, you may be able to see the trace of a line, a mark in the bark around the trunk. This is easier on a young tree than an oldie. What we are looking at is the root crown, literally the top of the roots.
Root crown is so important to the proper planting process that I want you to take a minute and google it. Look at some pics, watch a video, learn to identify where the root crown is placed. This is easy to do, and once you have learned it, you will be able to properly, naturally plant a tree, just like Nature does. This is no small feat.
Unfortunately, most trees are not planted well, to their serious detriment. Here it is, the master secret we have all been dying to know: when planting, place the root crown at the existing grade. What we are trying to do here is plant a tree and have it thrive. Everything I have said about planting is moving toward that goal. Aspects of the planting hole are also very important. I want your tree to have a really good year after it is planted and to “take off.”
Many incorrectly planted trees sulk for years and then die. We want to plant a tree at the right height with a layer of rich, tilled soil all around the root ball. This will make it as easy as possible for the new roots to leave the root ball on their journey to explore for available water and nutrients. The worst case would be a tight hole just the size of the root ball, whose walls are old, hard, undisturbed soil, difficult for the new roots to penetrate. Opinions differ as to how much space should be left around the new root ball for the rich, tilled quality soil you are going to fill the hole with.
When I say tilled, I am referring to soil that has been recently dug up or moved, perhaps soil you had delivered, soil that is not compacted—a good quality soil that the new root growth will thrive in and move into easily. Black loam. This is how the tree begins its establishment phase. If your root ball is 18 inches in diameter, make the hole 36 inches wide. Use this ratio of double the diameter of the root ball for all new plantings, no matter the size. If you come close to this ratio, your tree will be thrilled.
If you add new soil at the bottom, make sure to pack it firmly or it will settle. As it settles, so will the whole tree, lowering the root crown into the soil. When planting, I use a measuring tape. Measure how deep the root ball is and measure the hole as you dig. When these measurements match, you have dug deep enough.
As you dig through the layers, separate the soil. Reuse the dark, loamy soil and discard the light brown clay. Before placing the root ball in the hole, remove any bucket or container. If the tree is wrapped in burlap, that can stay. If planting a large tree in a steel wire basket, be sure to remove all ropes, fibreglass tape, or anything wrapped around the trunk. These are deadly if left encircling the trunk. Years later, the tree’s greater diameter would tighten up the tape to choke and kill the tree.
Another item you hear about before planting is slashing or cutting the roots at the edge of the root ball to stimulate new growth. I don’t like this and have never done it. I never buy root-bound plants. When choosing plants in pots, I always remove the pots to inspect the roots before purchase. And I never buy root-bound plants.
Now place the root ball in the hole and, if the tree is large, have someone hold the trunk straight while you fill the space around the root ball with the quality soil you have set aside for this. Add about one third of the depth and pack it with your boot. Repeat until you reach the root crown. Some people like to amend the soil at this point with peat moss, fertilizers, and other components. Micorrhizae (commercially called mics) can be helpful, but all the tree really needs is good black loam.
This is great—you have planted a new tree. Feels good doesn’t it? That’s one of the beauties of tree and garden work, immediate satisfaction. You can plainly see what you’ve done, and it is good. Let’s take a close look at that fresh planting. I am pretty sure we did everything right—good tree, good site, root crown right at grade, good quality soil, but still … this tree feels a little shaky, a little loose, like the next strong west wind is going to uproot our new baby. This is good; we have now discovered why nearly everyone, landscapers included, plants trees too deep. They know it will blow over so, treating the live tree like a fence post, they go deep enough that the tree feels solid. Big mistake.
Deep planting ignores root crown theory, and is the main reason that so many new plantings fail. They are planted too deep for the roots to get enough oxygen and the tree suffocates. What you did is right. What we need to do now is stake the tree so it is physically supported until it can face the west wind on its own feet.
More than 20 years ago, staking was more common. It seems to have gone out of fashion, and the subsequently prevalent deep planting to compensate is now the common practice. How much staking you need depends upon the size of the tree. A shrub that feels like it just needs a gentle hand for support will be happy with a single piece of lath installed just outside the root ball and tied with string. When staking, never pound your stakes into the root ball. This will cut and break a lot of roots. No matter what material is used, always place the stakes outside the root ball.
The other end of the scale is a major caliper tree with a trunk diameter of more than 4 inches. This tree arrives on a truck with a boom to unload it. It may have a 48-inch diameter root ball and is very heavy. Usually planted with the assistance of a bobcat, these large trees can give you an instant forest. To stake a tree of this size, three steel T posts would be pounded into the ground at a 45-degree angle, equally spaced at three points on a circle outside the root ball, 120 degrees from each other. Use a strong wire or rope to attach the tree to the stakes. Never tie the wire or rope directly around the trunk. Using sections of garden hose around the wire is not much better.
At the trunk, after choosing the spots for attachment, cut and tie sections of nylon webbing. Seat belts are made from this. Much wider than rope or wire, webbing will never cut the bark, which is a serious tree injury. The three pieces of webbing should never be at the same height on the trunk, which chokes off liquid transport up and down the trunk. Tie the wire or rope to the small circle of webbing you installed and then tighten up the guy ropes or wires. These should not be tight enough to bend the trunk, just take up the slack. We do not want to inhibit all movement. This is a two person job, with one of you keeping everything looking straight.
The materials installed for the staking job are not permanent. Once the tree begins to establish and the roots grow into the planting site and get a strong grip on the earth, the staking materials can be removed and the tree will stand on its own. When should you remove the staking materials? The answer as always comes from the tree. Two years later, how does the trunk feel? Given a solid tug, does it hold its own?
An important indicator of root growth is shoot growth. First, the tree grows roots, then shoots. If you have two good years of shoot growth of several inches, then you have had good root growth. If the last two years have produced decent shoots and the trunk feels solid, remove all the staking materials. Not sure? Wait a year.
It is easy to think, once our new tree is back in the earth, that all is well and that Nature can take care of herself. Not so. The new tree’s water requirements are the same as when it was in the pot or basket—perhaps much more, if planted in a bright, sunny location. (Where else?)
And remember, the new root growth we are counting on will take some time, multiple seasons. This is not an overnight change. Freshly planted in a perfect site that we made for it, the new tree will be just as unhappy after three days without water as it would be if it were still in its pot.
My favourite method of ensuring that new plantings get the water they need is to build a small earth dam, a berm, some say a dike, all around the edge of the planting hole. Size should be consistent with planting site size—generally four to five inches of packed soil which, in cross-section, would resemble a bell, and will hold a couple of inches of water easily. Fill up the berm with two inches of water. I do this by pointing the hose at the trunk, so as not to cause any erosion of the planting site or berm.
Did the water just sit there or did it soak in right away? If it sat, it won’t stay for too long, and that is enough water for now. If it soaked in rapidly, refill the berm. When the water has soaked in, leave it for a couple of days, then come back and inspect. Near the edge of the berm, dig a small hole with a trowel; six to eight inches is plenty. Check the soil you remove from this small hole for water content. If it is still sticky, you are good for a couple more days. If this soil easily clumps in your hand, you are still okay. If this soil is starting to dry out, then refill the berm.
After you have planted and done this a couple of times, you will quickly learn when to water. Changing weather will influence your watering frequency. If a series of 30-degree days rolls in, your new tree will need more water. Conversely, if some cool and rainy weather blows in, the water requirements will naturally drop to some degree.
There is significant danger in over-watering—as much as in under-watering. When you have filled your berm and the water has soaked into the root ball, let the tree do its work and let the water cycle through. A new planting continually soaked will drown. Ideally, the soil in the root ball would be kept damp, moist, not too dry, not too wet.