
To carry out tree repair in a way that is best for the tree, some understanding of its anatomy is needed.
(Continued from Tree Repair - 1)
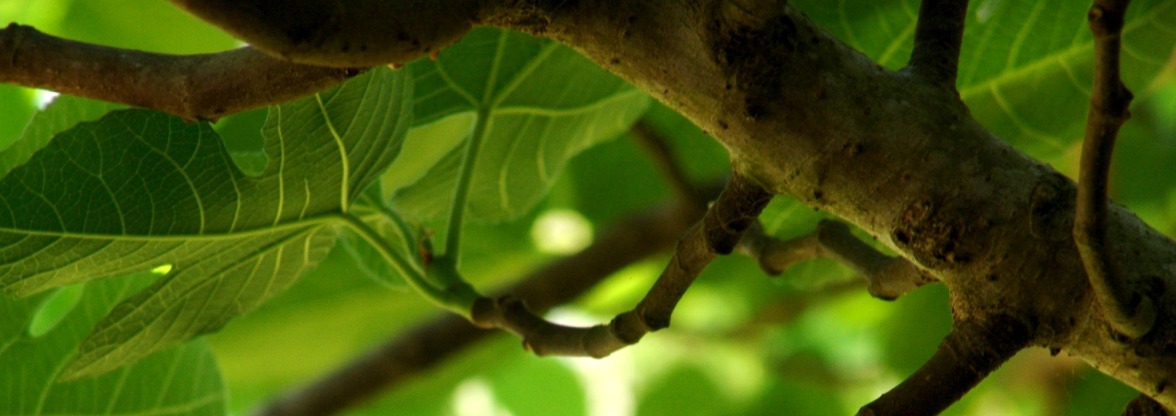
Branch collar identification:
What is this included bark and where do you find it? Maybe you have an apple tree or other species where the branches or sub trunks grow more or less straight out from the main trunk. Move in there beside the trunk so you can plainly see this. An inch or two away from the trunk the branch has a uniform parallel growth, a very gentle tapering as you look out towards the branch tip. This is normal and good; now look the other way back towards the trunk. As you approach the trunk, the base of the branch noticeably swells. This is the main area of branch/trunk interaction, called the branch collar.
Now look at the base of the branch all around and from different sight lines. It seems like the base of the branch is sitting in a ring of swollen or enlarged tissue. As you follow the branch back toward the trunk, its diameter will sharply flare out and increase greatly right at the trunk. I think of this as a doughnut of tissue that the base of the branch sits in at the trunk. Put your finger at the last place on the branch before it starts to swell, rub your finger back toward the trunk and now you can see and feel where the branch collar tissue starts to swell. Again, feel all the way around the branch just as you looked all the way around.
This is the branch collar, one of the world's great natural engineering feats, allowing a cantilever to grow right out of a vertical stem with no exterior bracing of any kind. Good trick, ask an engineer. The reason why the collar is swollen to nearly twice the size of the branch is that each year's trunk growth is laminated together with each year's branch growth.
Here we have to think of annual growth and the laying down of new tissue, tissue that will be new to the branch and the trunk. Try this on a branch you have pruned off the tree. When pulled out of its collar, the branch at the base within the branch/trunk collar has a teardrop shape. Wide above the collar it tapers to a fine point below. Hold the side branch firmly near the collar with one hand and hold the main branch in your other hand. Give a good pull down and the teardrop shaped branch collar will pull out and separate from the branch it grew from. Look inside the tear in the main branch and in the middle you will see a thin brown strip of tissue. This is the pith, the original core of the tree formed in the first growth year.
Apart from the whole beautiful complicated branch/trunk collar interaction zone you can now see plainly how each year the tree, through the process of secondary growth, adds a new layer of woody tissue invisibly beneath the bark. The bark will stretch and contort for sometimes hundreds of years, giving us the unique bark pattern of each individual species. You can count the layers of trunk collars inside the tear you just made. This is a positive confirmation of the age of that branch, and you can doubly confirm this by using the bud scar method described above.
In the spring and early summer as the terminal buds start to expand and exhibit the primary growth that is shoot extension, the branches and trunks are also busy expanding in diameter; this is called secondary growth. What happens is that the branch tissue grows first, the mother cell layer called the cambium starts to generate new cells, new tissue, new wood. Think about the teardrop shaped branch collars that you pulled out of their corresponding trunk collars. Now imagine them back together, visualize the branch and its last teardrop shape base under the bark starting to expand The surrounding trunk tissue has not begun to grow yet, so first the teardrop shaped branch base stars to expand and the cambium along the branch does the same thing. Afterwards the cambial zone in the trunk is initiated and wraps around the newly formed teardropped branch base, first the new branch tissue then a wrapping of the new trunk tissue, the new forming growth ring. This lamination repeated through the years accomplishes the engineer’s trick.
Let's move back outside the branch and look above the collar, where we will find another tissue called the branch bark ridge [BBR]. The BBR is formed from the interaction of the different growth rates of the branch and trunk. It’s a raised little ridge of rough tissue that naturally forms in the crotch of branches of all woody plants. It’s useful for targeting pruning cuts; if your saw is anywhere near this deep into the collar so as to cross through the BBR, then you are too deep and are about to make a flush cut, one of the most damaging , energy and tissue stealing practices that can happen to a tree. This was one of Dr. Shigo’s major focuses in his decades of research, what happens to the tree, inside the trunk when the branch collar is removed?
As it turns out, the branch collar is an amazing tree tool in defence, defence from wood rotting fungus, which is a tree’s constant companion/enemy and what will eventually destroy the tree. Fungal invasions are virtually stopped at the outside edge of the trunk when pruning respects the branch collar. Flush cut the collar with the trunk, remove it and the subsequent large volume of dead invaded tissue inside the trunk rises dramatically. This is graphically explained in great detail in DR. Shigo's essential work for all those interested in deeper tree care, A New Tree Biology, Facts, Photos, and Philosophies On Trees And Their Problems and Proper Care.
Dr. Shigo was the world's first forensic pathologist of trees. First he wounded them in many creative ways, copying bad tree care practices. Some years later the trees were felled and cut open along the long axis, revealing a whole new world of reaction, defence, and sometimes massive volume of tissue loss, as fungus was given the key to move as it wished when strong natural defence procedures of the tree were inhibited or destroyed by improper cuts, collar removal, drill holes and other out of date tree "care" practices.
Just to remind you where you have been, imagine that branch collar, now prune off the branch. After that, draw a vertical, axial line through the middle of the circle of the pruning cut. Now project that line through the trunk, peel back both sides of the whole trunk as if the line going through to the other side of the trunk was a hinge, and you could open up the trunk and see all the way inside and the pith running right through the middle of the trunk. This would show the branch trace, core, its form as it grew through successive years within the trunk. If we cut a piece of lumber off of one side and made a table top out of it, this branch core/trace would be a knot in that table top.
(Continued in Tree Repair - 3)